Having students create models is so effective at driving a science concept home, but unfortunately time, money, and patience sometimes act as limiting factors. Well…that used to be the case, until now. Watch the video below to see how two sheets of paper can turn into amazing models!
Developing and Using Models – A Science and Engineering Practice of Next Generation Science Standards (NGSS)
Developing and using models is a practice of both science and engineering. Models include diagrams, physical replicas, mathematical representations, analogies, and computer simulations. Below is the progression of the Science and Engineering Practice of Developing and Using Models, followed by Performance Expectations that make use of this Science and Engineering Practice.

Modeling can begin in the earliest grades, with students’ models progressing from concrete “pictures” and/or physical scale models (e.g., a toy car) to more abstract representations of relevant relationships in later grades, such as a diagram representing forces on a particular object in a system. (NRC Framework, 2012, p. 58)
Physical models provide concrete means to view reality, offering students a visual image to help facilitate learning. When using models to teach students about a theory or principle, it’s important that students understand that they are not exact replicas of reality, but more of a working idea that facilitate communication and guide research.
The following are some engaging strategy ideas to use when teaching with the models:
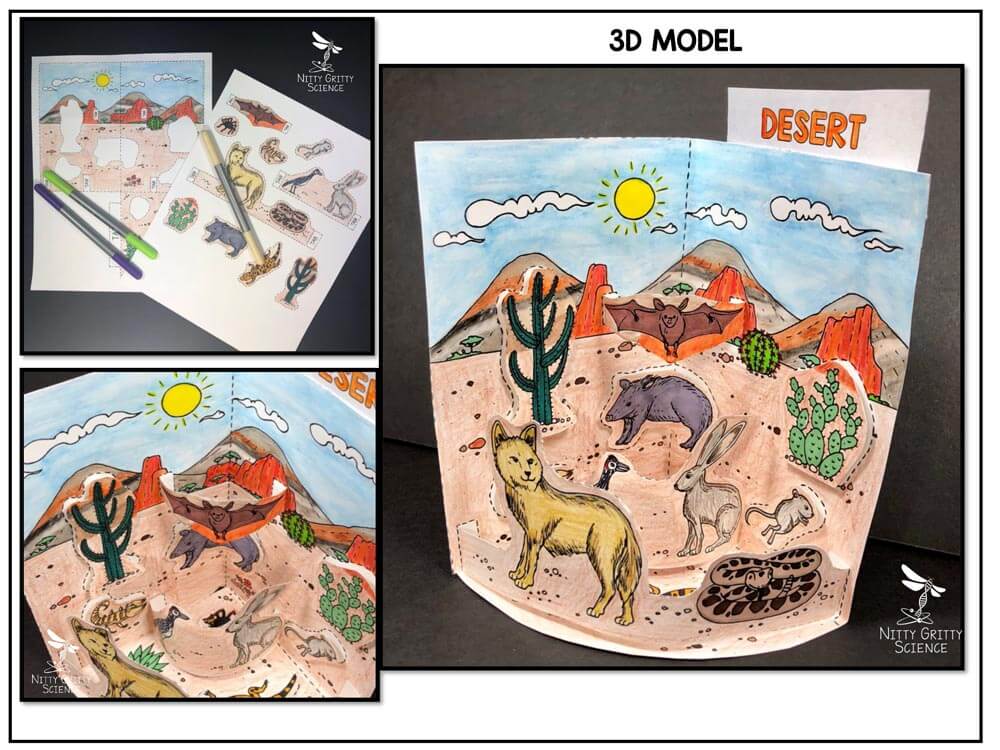
Biome Models:
- Once the model is put together, you can have students create a brochure which may require the following:
🍂Feature food webs or food chains featuring the organisms in the model.
🍂List abiotic and biotic factors from the model.
🍂Climate of biome.
🍂Geography of biome.
- Students can be placed in groups with each student being assigned a biome. (Use Model Option A, so students don’t cheat with dashed lines.) Teachers can scramble the cut-outs ahead of time, and students would need to work through the cut-outs to determine which cut-out belongs in each biome.
- Students can create multiple models and tape the backs together to form a mobile.
Sensory Organ Models (Eye, Ear and Skin)
- Have students make a key that also defines the function of each labeled part.
- Students describe a pathway from image to brain, sound to brain, etc.
- Students make a quiz about the structures and swap with another group.
- Students explain what part if being affected if you have the following:
- Color-blindness
- Dizziness
- Sunburn
- Pimple
- Ringing in ears
- Near-sightedness

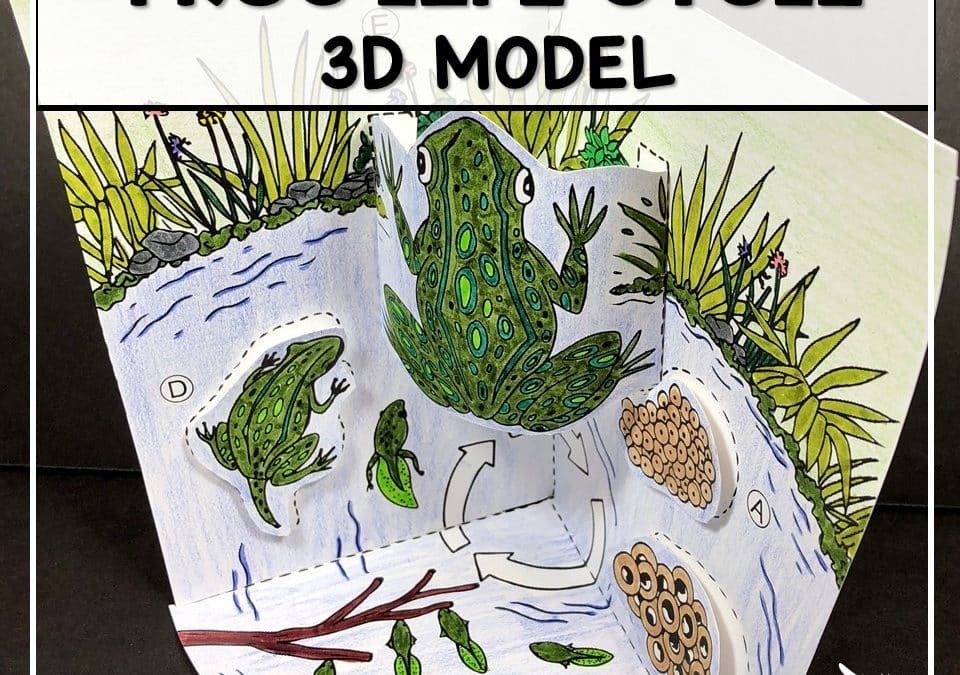
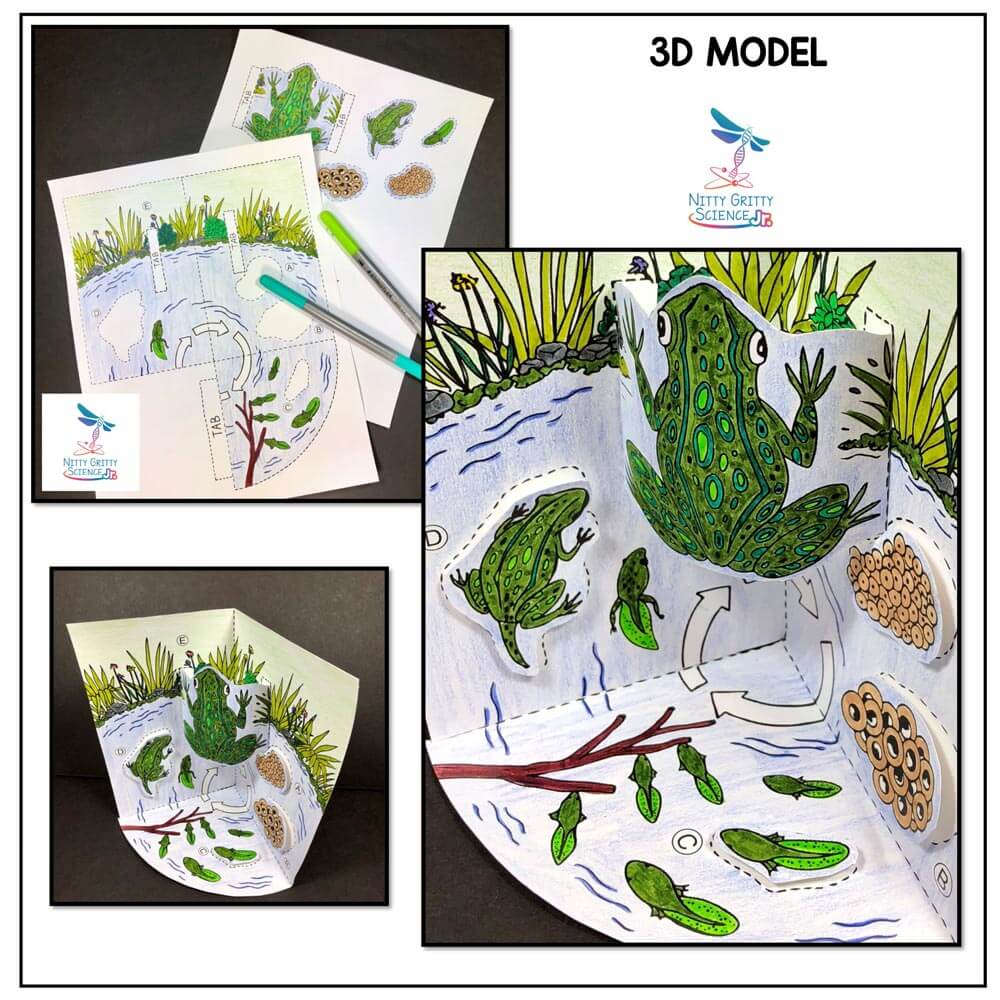
Life Cycle Models
- Students describe each step in the life cycle on a key or brochure.
- Write a story about the journey of the organism after they’ve become an adult, or as the organism from egg to adult. Older students can write a short story geared toward younger kids, then share their story with a younger class.
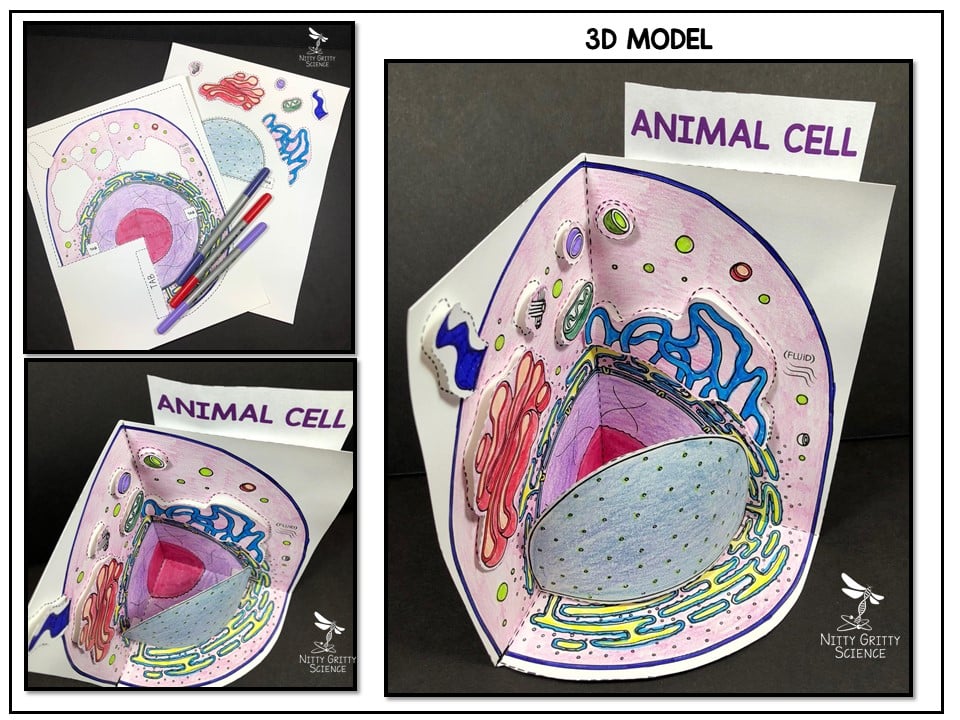
Cell Models
- Tape models together to show a comparison of the two.
- Write key with description of each organelle.
- Write analogy of each organelle on a travel brochure.
Enjoy!